


Clearblue Fertility Monitor - proven to almost double the chances of conceiving
The Clearblue Fertility Monitor is the most advanced home method of maximising your chances of getting pregnant. Research shows that the Clearblue Fertility Monitor increases the chances of conceiving by 89% over the first two cycles of use.
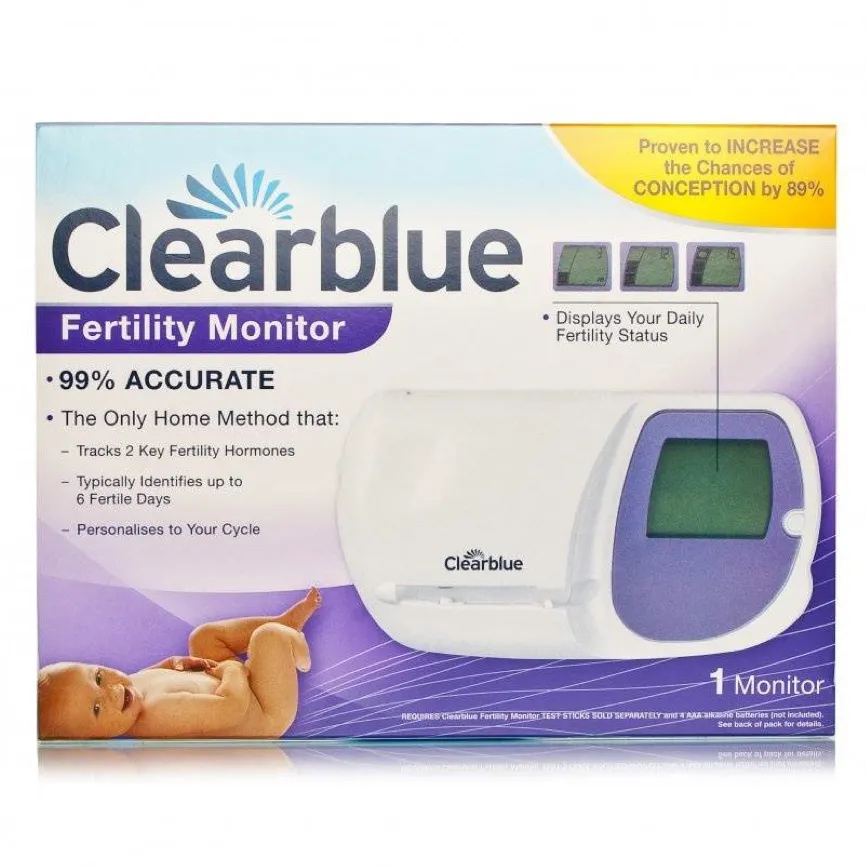
Most home ovulation tests identify the 2 peak fertility days during your cycle by detecting the surge in Luteinising Hormone (LH) that triggers ovulation. The Clearblue Fertility Monitor is unique as it tracks 2 hormones to typically identify up to 6 fertile days it not only shows you your 2 peak fertility days, it can also inform most women of an extra 1-5 days of high fertility prior to their peak fertility. Since your partners sperm can survive in your body for several days, making love on all of these days can lead to conception.
How does the Clearblue Fertility Monitor Work?
- The Clearblue Fertility Monitor stores information about your personal hormone patterns and personalises itself.
- It counts the days and tells you which days to test.
- It tells you when youre having Low, High and Peak Fertility days.
It even warns you when your period is due. This allows you to prepare for your next cycle, or, if you think your period is late, to test for pregnancy.
Its natural, non-invasive and easy to use.
The Clearblue Fertility Monitor is suitable for women whose natural cycle normally lasts between 21 and 42 days.
Directions:
1) You can start using the monitor on the first day of your next cycle (but not before). On this day, you set the ‘M’ button which tells the Monitor that your period has started and a new cycle has begun. It also establishes a 6 hour ‘testing window’ during which time you must perform a test on the days requested by the monitor.
2) All that you need to is switch on your Clearblue Fertility Monitor every day at any time in the 6 hour testing window.
3) On mornings when the Monitor requires further information about your hormone changes, a test will be requested.
4) First remove the test stick from its protective wrapper and use it immediately.
5) Take a sample of your urine by holding the sample end of the test stick pointing downwards in your urine stream for 3 seconds only or immerse it for 15 seconds in a sample of your urine which you’ve collected in a clean dry container. Its important to use the first urine after you wake up, as this contains the highest concentration of hormones.
6) Keeping the stick pointing downwards, take the cap off the handle and place it over the ‘wet’ end of the test stick. Wipe the test stick to remove any excess urine that may be present on the casing prior to insertion into the test stick slot.
7) Holding the test stick by the cap and with the cut corner of it pointing downwards puit it into the test stick slot
8) Push the test stick down until it lies flat and click into place.
9) The display will flash the test stick symbol for 5 minutes while the monitor reads and interprets the information from your test stick.
10) At the end of 5 minutes the remove test stick symbol will flash on the display screen. When you have removed the test stick your fertile status will be displayed.
Warnings
You should carefully read all product packaging and labels prior to use


 2.4GHz Compact Touch Screen Wireless Flash Trigger")


